Mitsubishi FH140 restoration part 2

|
|
|
|
|
|
Now well into our third restoration in this series of truck rebuilds, I thought this one was going to be the easiest – how wrong could I have been?
For the benefit of those of you who have just picked up on the story, the first restoration was carried out on my 1953 K Bedford which has since been carrying out the task of workshop hack.
Its first job back on the road after a 30-year absence was to deliver a 400-gallon water tank and all manner of other firefighting equipment for the second restoration project, a 1942 International fire truck, which was completed late last year.
Now we’ve moved into restoration project number three, I was expecting things to become a little easier as I got more into the swing of things.
OK I did accept that with the first project (the Bedford) I had my two friends, engineer Dean Southey and my restoration buddy Murray Firth, to hold my hand along the way, but by the time the fire truck job came along, the team had dwindled to two.
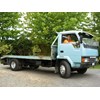
With this current job I knew I was going to be all on my lonesome, so from that point of view, it was naturally going to be harder with just one person doing most of the work. It’s fair to say though, that the Mitsubishi transporter was going to require a whole lot less work to bring it to an acceptable standard.
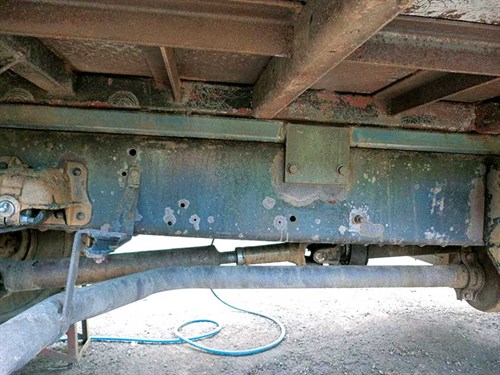
After all it does have a current COF which was obtained by the seller prior to my purchase of the vehicle, although VTNZ had noted that it had some potential rust issues that would need attention by the time the next visit to the testing station came around.
There was the potential to throw a spanner in the works, given that I needed to keep the truck on the road during the restoration period, as I had a number of jobs lined up for it in order to justify its purchase in the first place.
Having collected the truck from Tauranga on a Thursday, I sat down on the Monday morning and started writing out my restoration plan, would I start at the back and work forward or vice versa?
In pondering the conundrum, I figured that the most important thing to do was throw all this back-to-front/front-to-back malarkey out the window and do the most important thing first – fit a radio.
Well that job went easily – I got someone else to fit it!
I know that seems like the cheat’s way of doing things but I needed to fit a dual 24-volt/12-volt trailer light connection anyway, so it made perfect sense to get the auto sparky to carry out the fitting of the radio as well.
With that job sorted, I turned my attention to removing a plethora of steel brackets and other stuff that was redundant in the truck’s role now it was in my ownership.
In its previous life, it had obviously carried the machinery and hand tools for a road work company and therefore had what seemed like dozens of brackets for stowing brooms, shovels, and roading signs.
All of these fittings took forever to remove, mostly due to the fact that the truck was built like a brick outhouse.
In days gone by when scrap steel fetched close to $900 a tonne I reckon I could’ve almost paid back the purchase price of the truck with my earnings from the pile of leftovers.
With today’s steel prices though, I doubt I’ll be able to pocket enough to buy a litre or two of diesel.
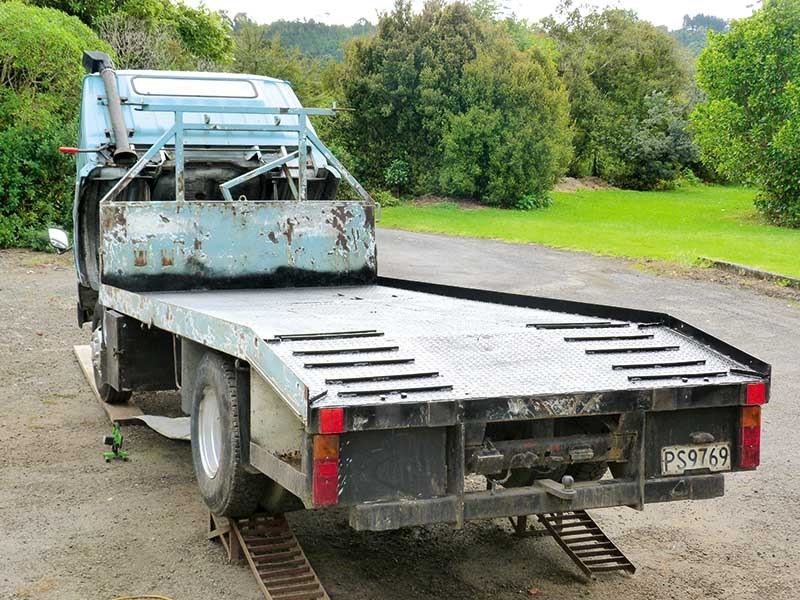
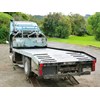
Bearing in mind that I had a few jobs lined up for the truck over the coming weeks, I decided to leave the most difficult part of the job (the cab) until last and concentrate my efforts on the deck in the meantime.
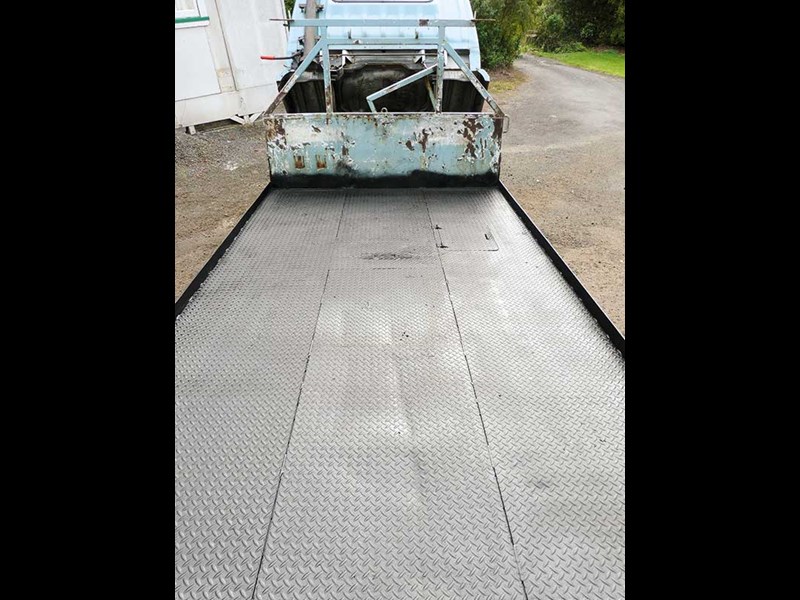
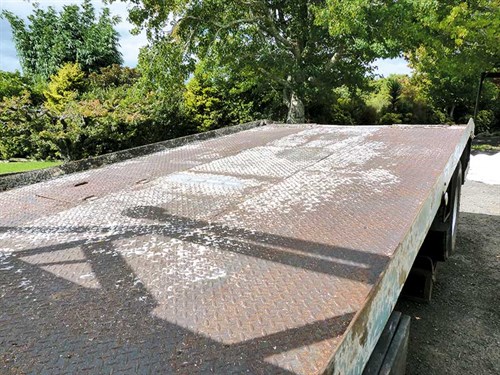
As told in last month’s issue, I had already Aquamax water-jetted the topside and underneath the deck, rather than having to spend a week with wire brushes.
This made short work of what would have otherwise been an arduous task and produced a better base on which to apply a coat of etch primer.
As it turned out it was just as well I had it water-jetted (a job that only took a couple of hours) as that afternoon I received a phone call from a mate, Richard, who wanted to collect a machine he’d bought in Thames, telling me he needed the job done the next day.
So it was out with the spray gun and on with a coat of etch, followed by a coat of primer. I even got the final coat on it in time for it to dry overnight before it had to head south for the Thames job.
Fortunately, Richard was able to drive the truck himself and free me up to carry on refurbishing some unnecessary bits and pieces I was able to remove from the truck just for the day.
The truck and its driver set off for Thames early the next morning and I’m told that everything went smoothly until they made a fuel stop at Ngatea on the homeward leg. That’s when I got a call from Richard to tell me that the oil light was flickering on at idle revs (about 500rpm). Naturally both of us were concerned about this development.
However, given the fact that the oil light was flickering and wasn’t giving a solid reading, coupled with the fact the problem only showed up at idle revs, I gave Richard the all clear to carry on driving home.
As he is a qualified motor mechanic, I felt that any further instruction to keep an eye on things would have been preaching to the converted.
Anyhow, after a couple of tense hours anticipating that fatal call to tell me the problem had got worse, the truck arrived home safe and sound and the cause of the problem was revealed – as we had hoped all it was, was a faulty oil pressure sensor – phew!
It must have been my lucky week because I was expecting all of that nice new paint I’d sprayed on the deck the day before to be obliterated from having the ramps and a machine moving all over it, but even though the paint had hardly been given any time to dry, there was barely a scratch to be seen.
The finish coat I used incidentally was a spraying enamel supplied by Special Finishes, Span Farm Glendene – highly recommended!
It’s been a bit of a mission but most of the unwanted brackets have now been removed, with one last assault now to be made on a bracket that is attached to the front of the headboard and was presumably put there to hold roadwork signs.
Now, being old school and having a waste not, want not ethos, the steel from the bracket is going to be recycled and used to repair a front bumper for the next restoration project which is the FGK Morris that’s been waiting in the wings for a year or more, but for the meantime it’ll be onwards and upwards with the current job.
Keep up to date in the industry by signing up to Deals on Wheels' free newsletter or liking us on Facebook.

.jpg)


.jpg)


.jpg)