Restoration: RG13 Dodge—Part 6
Deals on Wheels resident truck restorer Lyndsay Whittle updates us on his progress
.jpg) |
|
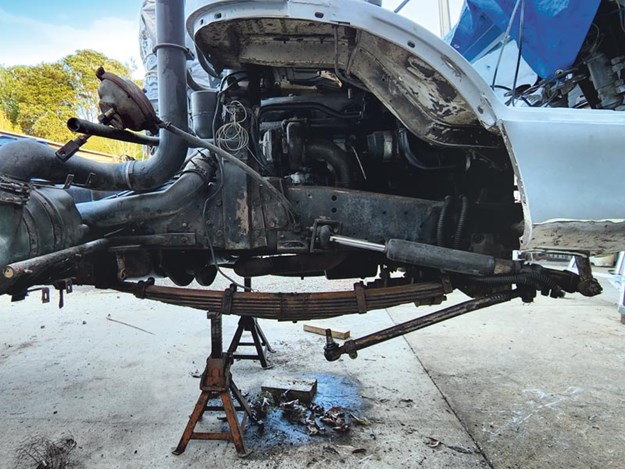
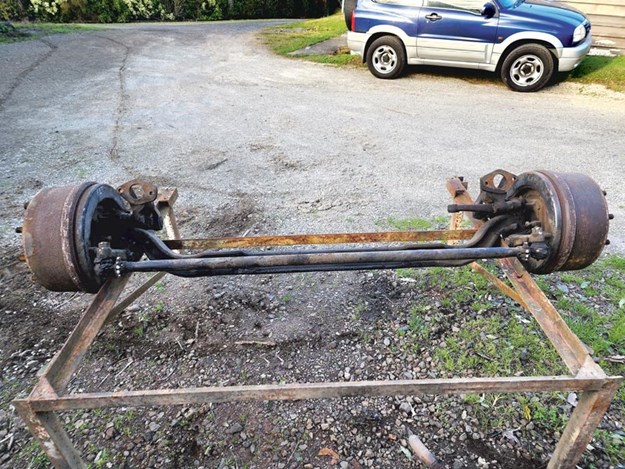
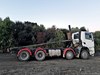
The front axle ready for removal
|
When this ageing restorer climbed in the cab of his soon-to-be-restored RG13 for the first time, it seemed a lot taller than the original 1980 RG11 he had as a new truck—a fact that was pointed out to Simon (the owner), who jokingly suggested it was because the old bloke was a whole lot younger in those days. Cheeky bugger.
Unfortunately, subsequent climbs in and out of the cab haven’t seemed to have made access to the driver’s seat any easier. Another concerning feature was the extremely rough ride the truck produced, something that was initially put down to its short wheelbase.
As covered over the past five restoration instalments, the small restoration team has concentrated on dealing with the surface rust spots in the cab and a lesser amount of actual rust that needed to be cut out and patched.
Something didn’t seem right
 |
|
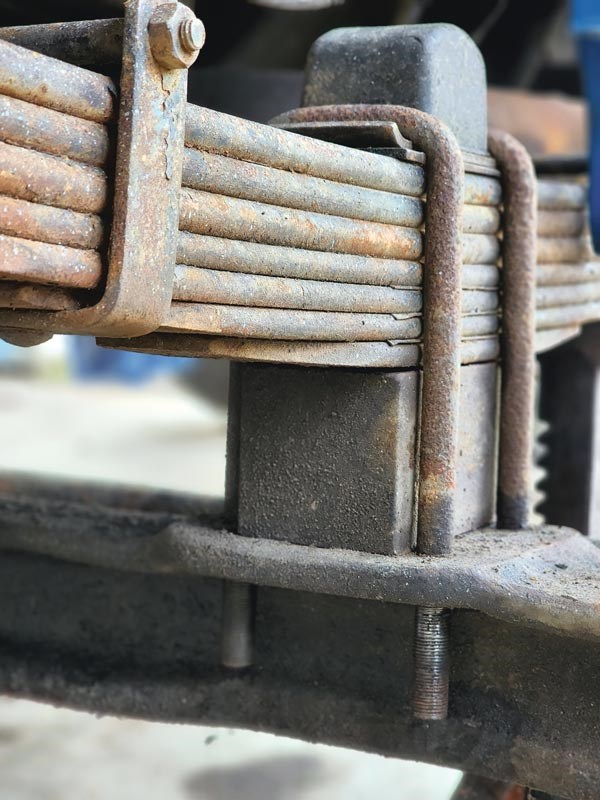
That pesky suspension block
|
It wasn’t until we turned our attention to the underside of the cab that we noticed a modification that had been made to the truck’s suspension. Someone in the RG13’s past life had needed to raise the spring height by placing a cast iron block under the front axle’s springs to give the truck about 100mm extra ground clearance.
In doing so, they’d removed the shock absorbers, probably because they couldn’t find anything of a suitable length to replace the originals. The people who’ve been following the story from the beginning will realise that I’ve been drawling on for a few months about not having anything go awry, and they would now say that I’ve finally got my wish with the latest problem.
Removing the front axle certainly wasn’t a part of the original plan but, unfortunately, as things transpired, there was no other way if we were going to end up with a truck that was lowered to its original specifications and had a pair of shocks refitted.
While to a professional truck workshop the removal of a half-tonne or so front axle only involves undoing four U-bolts and a bit of steering paraphernalia, for a small bunch of workshop handymen, things looked like they could become a little more involved.
Making a start
 |
|
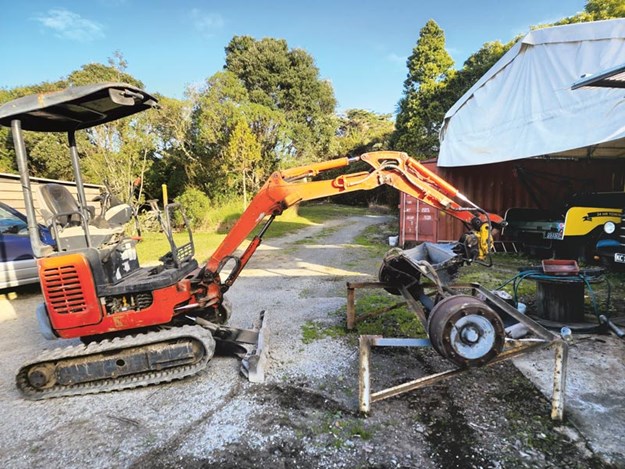
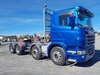
This saved a bit of heavy lifting
|
We figured that getting the axle out would be one thing but replacing it would most surely be another. Relying on the old adage of a journey of a thousand miles—you know how it goes—one day when I had the workshop all to myself, I decided to make a start.
The 22-tonne pneumatic/hydraulic jack purchased for the previous D Series Ford restoration easily took care of lifting the truck high enough to get a couple of axle stands under the springs, however, it was apparent that a supporting safety measure would probably be a good idea.
This came in the form of our gantry, to which was hung a secure chain-block and attached to the chassis rails with chains. Once the truck was lifted and secured with axle stands further back under the chassis rails, surprisingly, it was only a matter of about 45 minutes later that the axle was detached from the truck.
What at first appeared to be a setback, strangely enough, became a huge advantage, the long and short of which was we had free access to clean and paint the axle and all its components, but it had also made the tidying up of the chassis and lower engine much easier.
 |
|
No excuses now for not cleaning things properly
|
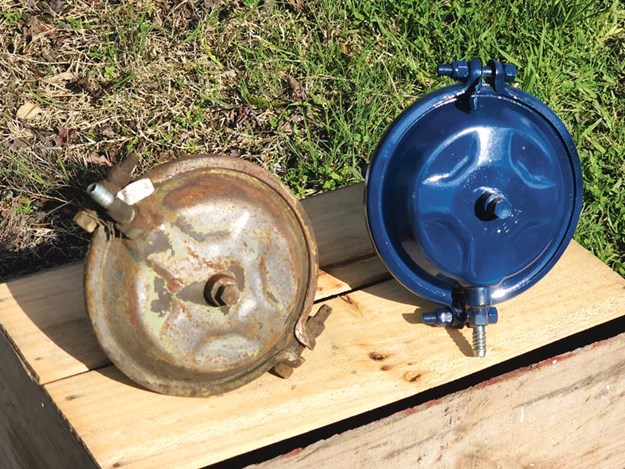
For instance, the airbrake pots, which although functioning as they should, were pretty scruffy-looking and needed to come apart to be properly cleaned. While cleaning and tidying are an important part of the restoration process, this wasn’t the initial reason for the axle’s removal, as there still was the issue of sorting the shock absorbers out.
 |
|
Let the big tidy-up begin
|
To affect the previous modification, the earlier owners had removed the plates that secure the bottom part of the shocks to the axle, although, the original top brackets were still in place.
Colin to the rescue
 |
|
A before and after shot of the brake pots
|
Enter, once again, my old mate Colin Dunn at CRD Automotive, who always has an answer to my problems. He said that there was a Mack Quantum out the back of his workshop that had been rolled and was going off to the scrap merchants, which seemed a real shame, as it looked like it had been a tidy rig prior to being rolled.
The Mack had a couple of shock absorbers and the bottom brackets sitting on its second axle looked like they’d do the trick nicely. I found they were about 30mm wider than the springs on the Dodge, so it was simply a matter of trimming them to the required size to complete the first part of an exercise that originally looked like a tricky one.
It appeared there’d be several more steps to get through before we could sign this part of the job off, but nevertheless, we were moving ahead faster than I envisaged.
The Mack’s brackets were designed to fit a shock absorber with a horizontal pin at the bottom and another at the top, but the Dodge was already fitted with a top bracket to suit a vertical pin.
"Typical of my luck," I thought to myself, so the next problem looked was to find a shock absorber with a pin at the top and an eye at the bottom. However, Colin assured me that MaxiPart (Maxipart Vincent NZ Ltd), which have branches at Onehunga and Wiri in Auckland, would be able to help. It turned out he was right yet again.
I came away from MaxiPart’s Onehunga branch with two shiny new Gabriel shock absorbers, which cost around $135 including GST each—a fair price. All we had to do now was to fit them to the truck and put that front axle back in place—a job that will set us up well for next month’s instalment.
Find new and used heavy machinery for sale in NZ
Keep up to date in the industry by signing up to Deals on Wheels' free newsletter or liking us on Facebook.
.jpg)


.jpg)

.jpg)
.jpg)
.jpg)
.jpg)
.jpg)