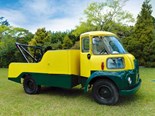
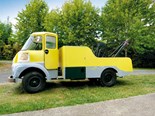
Restoration Project: FGK Morris—Part 31
Earlier in April, Lyndsay Whittle finally plucked up the courage to call the welding certifier to see if he could find some time in his schedule to call around and take a final look at the welding he's done on the cab
It had been about a year since Bob (the certifier) called for the first time and told me that my welding on the floor panels I’d made simply wasn’t up to spec. So out they had to come in order for it to be done all over again.
The effort in removing the panels rendered them unsuitable for reuse, so I had to make a new set and weld them in place again, which I recall was a bit of a bugbear at the time.
However, I’d learned a valuable lesson, as I wound up having better-fitting panels the second time round. Also, I’d earned the trust of the certifier by being able to take the criticism on the chin without trying to argue my way out of having to do the job all over.
Well, here we were, a year or so later, and once again biting my nails waiting for the headmaster’s report. I didn’t have to wait long, as it was only a day or so later that Bob returned to take another look at the work.
His only comment was to use some seam sealer to protect the joints from moisture. Also, in order to get through the VIN, I’d have to have the specification plate with the engine and chassis number on it.
Hurdle number one had been passed, but I was left wondering what on earth I’d done with that plate.
The said plate attaches to a kind of document compartment, which I’d left off so Bob could easily see how I’d attached the left front wing to the cab.
I knew the panel was in the cab along with other body panels, which I’d also left off so anybody who cared could see that I wasn’t trying to cover up any shonky work that I didn’t want to be seen.
Long story short, I looked everywhere for that plate but it was nowhere to be seen.
Then suddenly it dawned on me that because it was riveted onto that document compartment panel, I’d never removed it in the first place. I’d simply masked around it.
When I went back to the truck, there it was in the cab, about a foot under our noses.
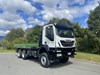
Bob said that the next step in the process would be to get the truck down to VTNZ and get the VIN process underway.
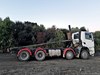
However, I’d noticed about a week earlier that there were spots of surface rust coming through on parts of the chassis at the rear of the truck and I thought that maybe I would have to remove the body to clean it up.

Bob’s opinion was that the rust spots really weren’t bad enough to warrant such drastic measures as removing the body and that he wouldn’t bother if it was his truck. But I made the decision to go ahead and remove it anyway.
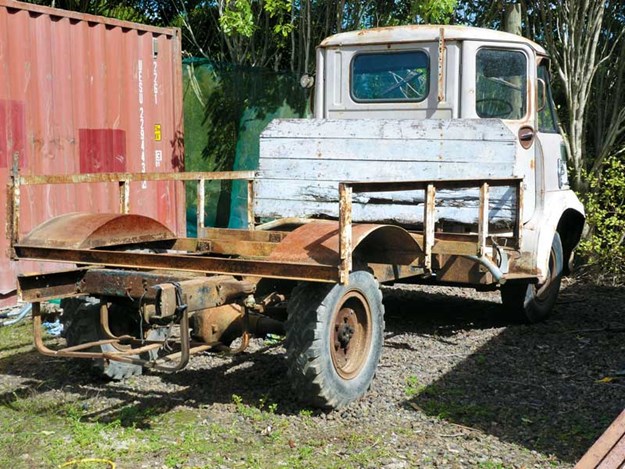
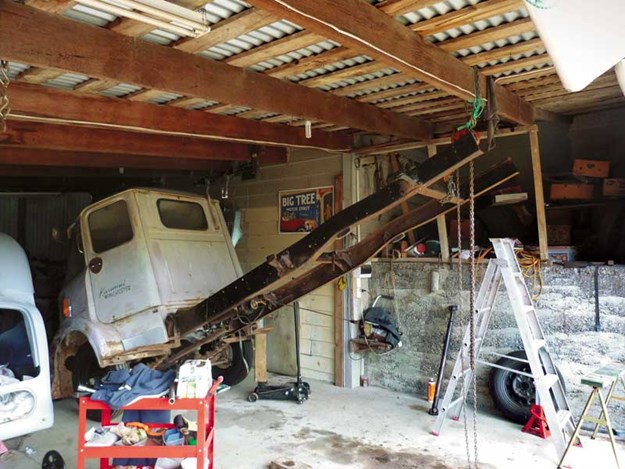
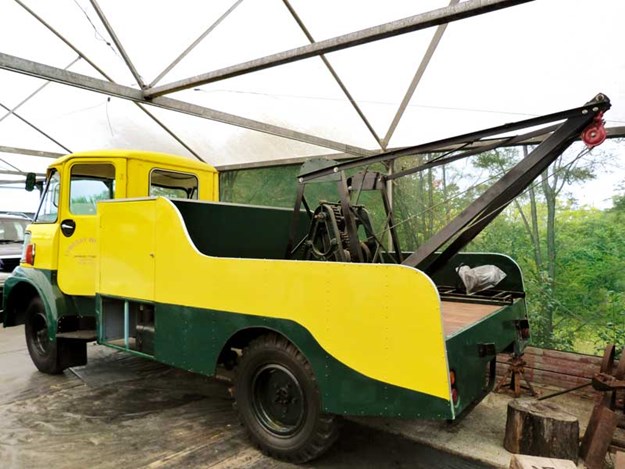
The next morning I was down at the workshop bright and early with a plan in my head to undo the four bolts, jack the body up, and drive the truck out from underneath. After all, I’d built the body on the truck in such a way that it could be craned off at any time in the future should the need arise.
I mentally counted the number of steps that would be needed to remove the body and I figured that it all should be done and dusted by morning tea-time.
Forgetting that I’d designed the body to be craned off, I figured it was only a matter of undoing the four U bolts (they’re actually threaded rods with plates top and bottom), then jacking the body off the chassis, and then driving the truck out from underneath.
Things were going well, with the undoing of the bolts and jacking the body up a few inches only taking about half an hour. I asked my mate Murray to come and watch where the wheels were going, as there wasn’t a lot of tolerance between them and the skirts of the body.
I had moved the truck forward about 300mm when Murray asked me to stop, as he noticed the body move. What had happened was that one of the skirts at the bottom of the headboard was fouling on the battery box.
But I didn’t think it was much of a problem; it would just have to be jacked up about 400mm at the front to clear the battery box on the right-hand side and the fuel tank on the left.
But at first what I thought was a simple job was turning into something a little bigger than
I imagined.
The lifting of the body continued slowly for a while without incident and I kept going, thinking one more pump of the jack handle would do it. But unfortunately, that one extra lift was enough to skew the body to one side just enough to make driving the truck out an impossibility.
The upshot of all this was that it took Murray, another mate, and me the better part of the rest of the day before both the truck and body were finally separated from each other.
The job of tidying up the surface rust on the chassis went without incident and a bonus was that I was able to attach the wiring loom for the tail lights to the chassis, which was a lot easier to do with the body removed.
We’re were putting the final touches to getting the body back on, as this edition went to print.
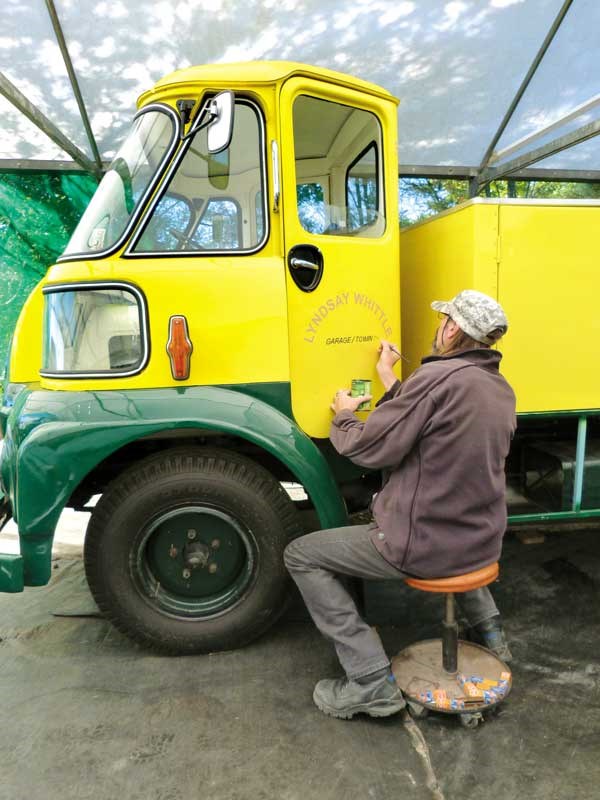
It may have been a bit of a setback, but we’re back on track again with the steps and mud flaps now attached and with the signwriting underway.
We only have the windscreen wipers to fit now, along with a whole lot of relatively minor jobs to attend to and oodles of paperwork to get the truck on the road, so a couple more articles and we’ll all be released from this saga.
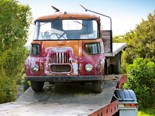
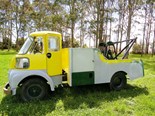
As you can see, I’ve included a heads up on the next restoration project—a 1970 D Series Ford; a Petrol-powered D750 to be precise. The Ford project will be started sometime around June, so until next month.
Tip of the month
Always allow more time to do a job than you think it will take
Coming up...
A lot of paperwork!
Keep up to date in the industry by signing up to Deals on Wheels' free newsletter or liking us on Facebook.


.jpg)

.jpg)