Restoration: Ford D750 restoration—Part 9
The latest chapter from Lyndsay Whittle's restoration project
 |
|
A simple wheel and a mudguard make all the difference
|
There’s a lot to be said about this vehicle restoration game, quite apart from the fact that while you’re indulging in it, you’re helping to preserve just a little part of our country’s (and to a certain extent, the rest of the world’s) transport history.
While it sounds like a lofty statement, from my personal point of view, the past six or seven years have provided me with many opportunities to learn and teach myself a bunch of new skills, such as welding and spray painting.
I’m sure I’ve said it before that while I’ve always had a mechanical bent and I’ve put in around about 40 years in the trucking game—both as a driver and as an owner of a small fleet of trucks—I’ve always been happy to pay someone else to carry out any major repairs.
It wasn’t until I asked Murray Firth if he’d let me do a story for Deals on Wheels about his restoration of a 1931 W Bedford, that I had the notion it could be something I’d like to do with my own K Bedford that had been sitting around for many years.
Murray suggested that I could carry out the restoration at his property and better still that he’d give me a hand to do it. Poor Murray must be kicking himself for making that stupid offer because he has never been able to get rid of me ever since.
 |
|
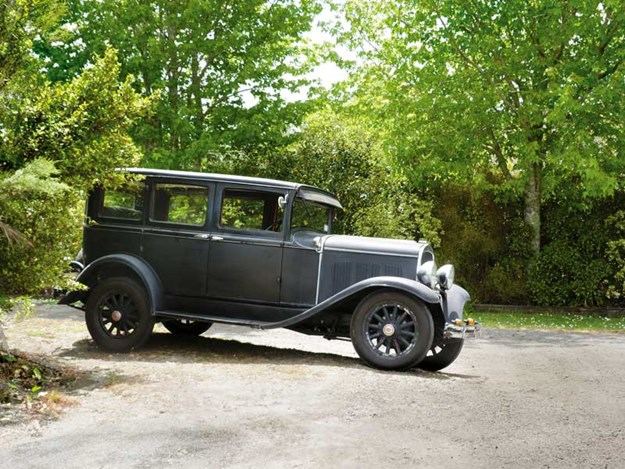
‘29 DeSoto: It took some sorting but it’s now road legal
|
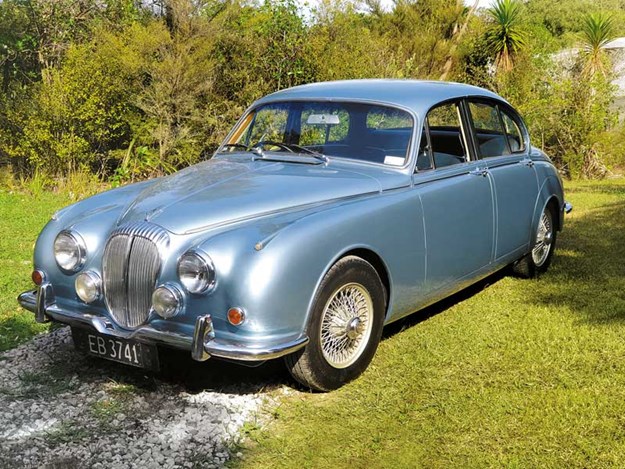
I should also mention that aside from the above-mentioned trucks, I’ve also carried out a rather large freshen-up on a 1942 International fire truck for a local fire brigade, made a 1929 DeSoto car road-legal again, and am in the process of carrying out a fairly hefty mechanical job on a 1968 Mk2 Daimler.
.jpg) |
|
On its way back to its owners in 2016
|
This rather lengthy lead-in to the other benefits I’ve discovered from my first restoration brings me to the other by-products of the work, which is the fact that each subsequent completed job helps in one way or another with the next one. Check out the photos below for some examples.
 |
|
Still a work in progress
|
Back to the current restoration, progress has suffered a few setbacks as a result of the COVID-19 lockdown, partially because of—and I’m ashamed to say—poor planning, with a recent instance being my inability to purchase gas for the welding plant.
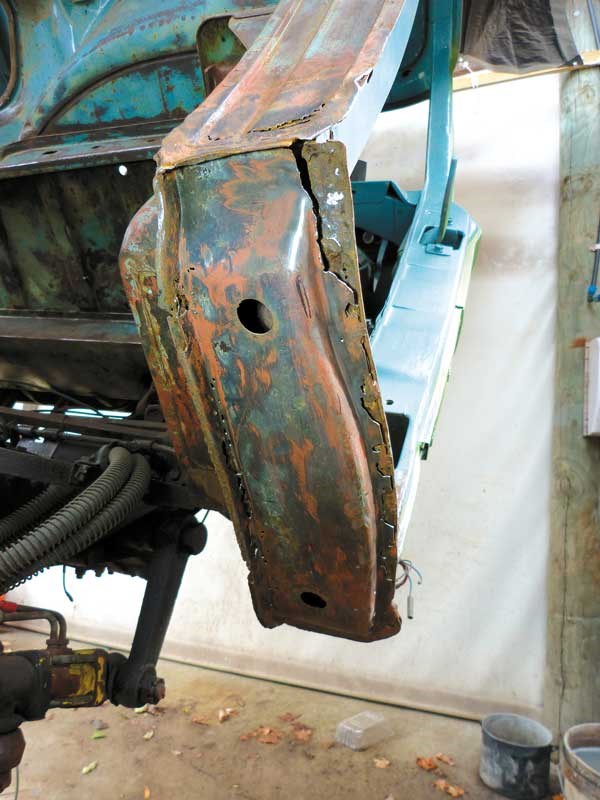
Nevertheless, progress has been made, especially with the underside of the cab around the right and left steps. I tackled the left side first, as it appeared to be in worse condition. This part of the job was like unravelling a ball of string, as what appeared at first glance to be not too bad turned out to be quite the opposite.
 |
|
The right-hand step wasn’t as bad as the left one
|
As each rusty part was removed (or literally fell out), another equally bad bit was revealed. Using the more intact and original-looking right-hand step as a mirror image (I’m not very good at mirror images), I could see that the left one had been repaired more than once and it was going to be a problem to recreate, especially for non-tradesperson like me.
Giving all due credit to any previous repairers, it was obvious that this old truck had spent its entire life as a farm truck and had many encounters with gate posts during its 50 years around paddocks.
I’d hazard a guess that the uppermost thoughts in a panel beater’s mind wouldn’t be focussed around repairing the vehicle to its original specs, and I could imagine the brief from the owner to be "just make it good enough to get a COF please".
Well, the final product I’ve managed to come up with may not be a perfect replication of the original, but I’m pretty pleased with the effort, for an amateur anyway. While the right-hand side-step wasn’t nearly as bad as the left-hand one, it still took a bit of work to get it back to original, and I was pleased when these two obstacles had been cleared.
The next step (if you’ll pardon the pun) will be to finish cleaning, scraping, and painting the underside of the cab. One of the parts of the restoration that I haven’t been looking forward to is cleaning the wheels, as it’s always one of the dirtier parts of the restoration process.
 |
|
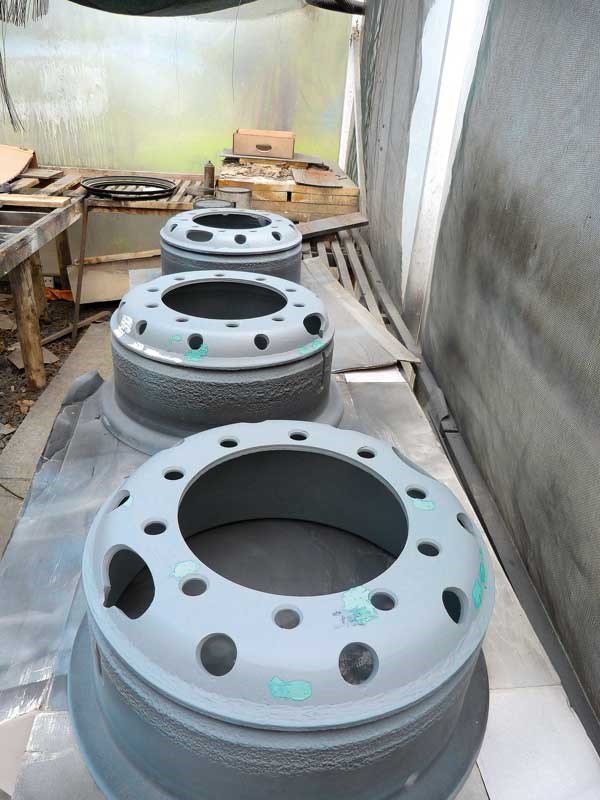
Ready for the finish coat
|
I had Mullins Tyres in Avondale remove the tyres from the front and spare wheels a couple of months back, and as I was half expecting they confirmed that although the treads had plenty of wear left on them, the walls were crazed and would never pass a COF.
Given that the spare is never likely to get used, I made the call to refit the original tyre, tube, and rust band but decided to bite the bullet and buy two new tyres for the front. After all, it would have come around sooner rather than later.
 |
|
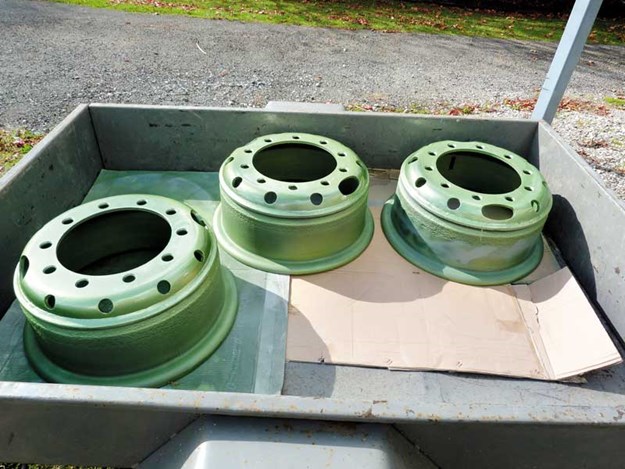
Two front wheels and the spare made ready for tyre fitting
|
Now that these have been fitted to the newly painted wheels, it will be one expensive part of the job placed well and truly in the completed file, although, I have to say that I won’t be looking forward to the time when the four rear tyres will need to be attended to as well.
As was the case with the steps, the left-hand mudguard was in a much worse condition. However, probably more by good luck than good management, I managed to beat the guard into shape and fit it up to the cab to make sure it went together without any stresses being placed upon it.
In the meantime, as we progress through lower levels of lockdown and more and more products and services become available once more, I should be able to report on a little better progress next month.
.jpg) |
|
Two previous restorations helping with the current one
|
Keep up to date in the industry by signing up to Deals on Wheels' free newsletter or liking us on Facebook.
.jpg)


.jpg)


.jpg)


.jpg)
.jpg)
.jpg)