Restoration: D750 Ford—Part 22
The latest updates on the D750 Ford restoration
 |
|
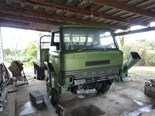
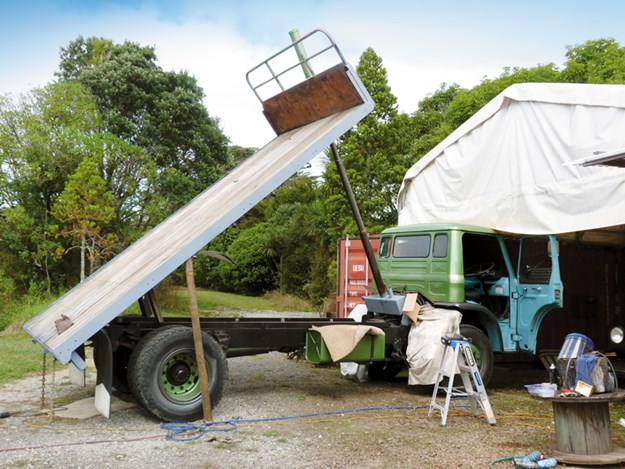
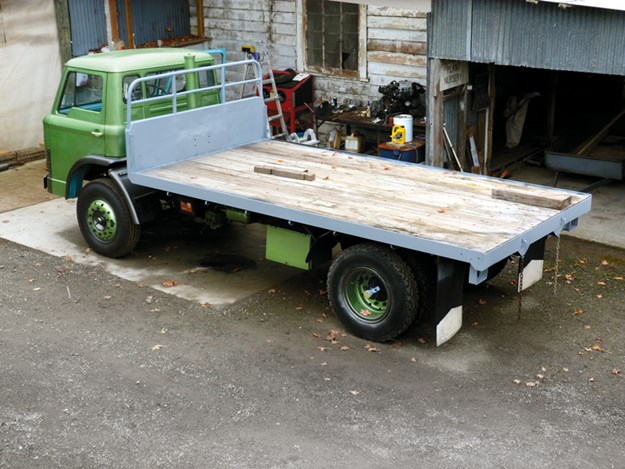
Attention now focussed on the rear end
|
When wrapping up last month’s instalment, I promised I’d reveal the most embarrassing setback to this project that will most certainly hold proceedings up for at least a week or two, however, when I wrote those fateful words, I was blissfully unaware that yet another major inconvenience was about to rear its ugly head.
First things first—the original setback I was speaking of had its beginning several months back when I was using the deck of my trusty K Bedford as a platform to work on preparing the D’s roof for painting.
To make the job easier, I’d placed a trestle on the back of the deck of the K to gain access to the front of the D’s cab. All went well with the prep and painting and it’s fair to say that I was pretty pleased with the effort; so pleased in fact that I couldn’t wait to get the truck out of the shed and into the light so I could admire my work.
In my haste, I forgot to remove the plank before I drove the K out, and you guessed it, the plank put a dent in the left front quarter and into the left-hand door. Working on the premise that every cloud has a silver lining, I consoled myself with the fact that I sure as hell was going to get some panel beating practice in.
 |
|
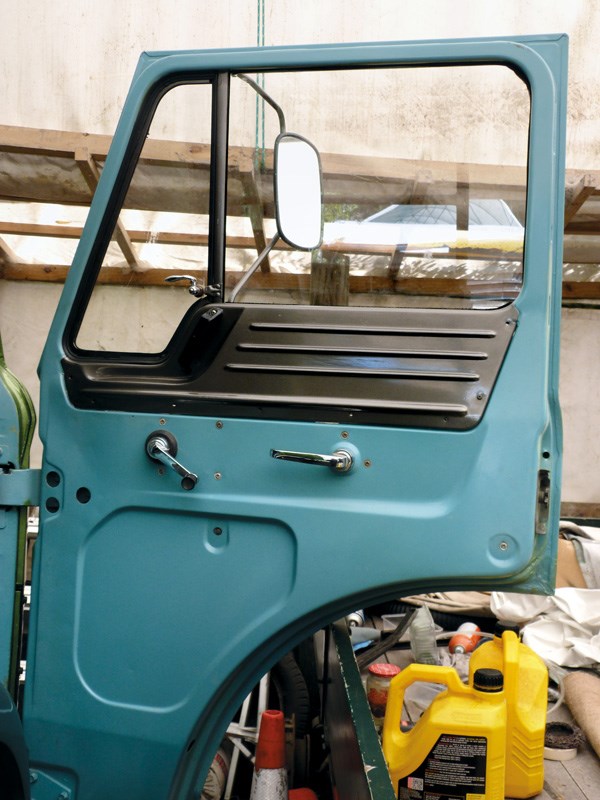
Door trims now fitted
|
Fast forward a few weeks and I was once again patting myself on the back for doing what I thought was a pretty fair job on the panel-work side of things. However, there’s always something waiting in the wings to bring smart alec back down to Earth with a great big thud.
As I said, I was pleased with the finish of the original painting job and I’d have been happy to present the pre-plank incident truck to the public when I’d given the old girl a polish, however, I knew I was in for a bit of a mission when it came to repainting the repaired panels. My fears were confirmed when I’d completed the job.
Quite frankly, the match was diabolical. This result probably shouldn’t have come as any surprise given my less than average painting skills. The upshot of all of this is that I’m going to have to repaint the entire front panel and the left door as well.
As if that major issue isn’t enough to contend with, the braking debacle left hanging in the balance in last month’s issue at the time of writing still hasn’t been resolved. The last couple of months have been causing yours truly far too much embarrassment to be comfortable.
 |
|
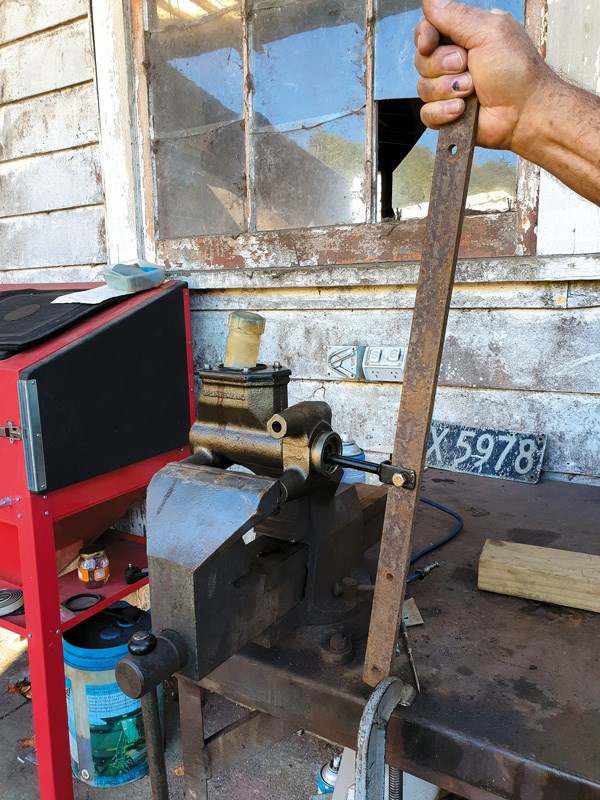
Brake cylinder testing set-up
|
First, I ruined a perfectly good paint job by clobbering it with a trestle plank, then I made a total botch of painting the repair, and after that, I replaced a reconditioned master cylinder only to find that the brakes still don’t bloody work.
After much more profanity issuing from under the truck as my mate Murray sat in the cab awaiting my instruction to start pumping the brake pedal and I attempted to bleed a wheel cylinder for the third or fourth time, I heard something oozing right at the tail end of truck.
Further investigation revealed that there was brake fluid coming out of the tailgate release pipe. Now that can’t be right, can it?
After giving the conundrum a wee bit of thought I figured that I had transposed two pipes further up the front of the truck, and the brake hose had wound up being connected to a secondary air tank. Talk about sending a boy to do a man’s job!
Well, that had to be the answer doesn’t it, I thought to myself. Finally, we must’ve dug ourselves out of this giant hole we’ve been in for what seems like an eternity. So, it was back under the truck to do the bleeding while Murray confidently pumped the pedal.
Now we were both confident we had found the source of the concern, as previously we had been doing the same thing and expecting a different result. How stupid is that? More bleeding and yet we were still getting the same result, with the pedal starting to show signs of resistance but then going right to the floor.
Writer’s note: By now we’re up to the fourth time that the master cylinder has been taken out and put back in and the air in the workshop is starting to turn blue, frustration’s mounting, and the unit currently is back with the brake people for a second look.
Anyway, both times the master cylinder has been away for repair, I was able to put the downtime to use cleaning and painting the underside of the deck and chassis to gain a little bit of traction on the body restoration side of things.
 |
|
Headboard and coming rails ready for topcoat
|
Other items tackled at the same time have been the front of the headboard, which had rust holes that needed patching and/or welding and both coaming rails, along with the tail-end.
There wasn’t enough time left to apply finishing coats to all of these, however, they were all given a coat of etch primer where applicable and a generous second coat of primer surfacer, which will protect the surfaces until the weather fines up enough to get the top-coats on, hopefully, within the next week or two.
What originally appeared to be a doddle of a restoration is slowly turning into a nightmare compared even to the last restoration (the FG K30 Morris), which required a total rebuild and even the design and manufacture of the deck and towing rig.
The D Series by comparison has a perfectly good deck, which only needed cleaning. Its registration is on hold and as such doesn’t need re-vinning, yet it’s giving us so much more grief than the last three restorations combined.
Perhaps I’m like the woman who goes through childbirth, forgets about all the pain and discomfort, and goes and does it all again, or maybe it’s that I have a short memory; even worse, I’m just plain thick. Best to leave that up to the readers’ conjecture methinks.
Find new and used trucks for sale in NZ
Keep up to date in the industry by signing up to Deals on Wheels' free newsletter or liking us on Facebook.


.gif)
.gif)
.jpg)
.jpg)