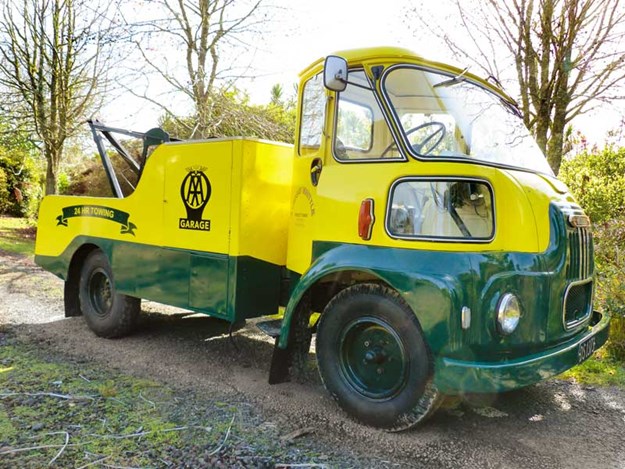
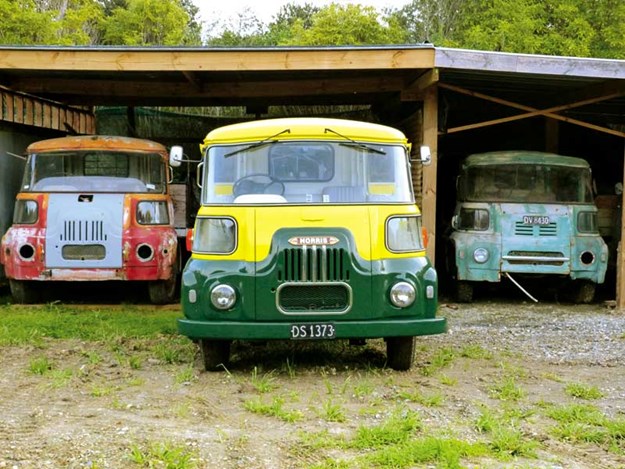
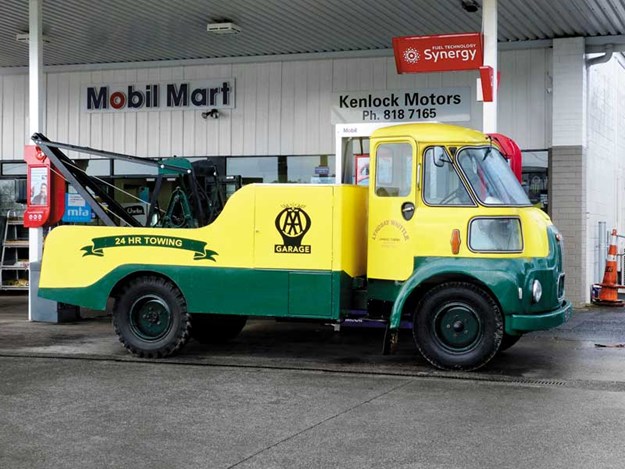
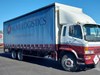
Restoration Project: FGK Morris—Part 33
There are only a few bit and bobs to attend to before the almost-restored FGK Morris can be taken for a final inspection at VTNZ Avondale
As we reach the end of this almost three-year-long restoration, I'm writing this last article in real-time as opposed to producing each story retrospectively.
There are now only a few little bits and bobs to attend to before I can present the finished product for inspection at VTNZ Avondale, and while I’d have liked to have the floor mats and door cards done to finish the job off, the vehicle inspectors will want to see a naked vehicle in order to properly check it out, and I’m well aware of time being of the essence when it comes to getting things done this month.
I’m hoping that the readers who’ve been good enough to stick with me through this entire process will enjoy this month’s read as I record the day-to-day happenings that’ll hopefully get this thing over the line. So here we go:
Tuesday, June 4
- Phone VTNZ to book VIN appointment
- Phone Mullins Tyres and order 2 x 750x16 tyres for rear wheels
Comment: At this stage, I’m still not entirely happy with the brakes, especially the handbrake so it’s still a work-in-progress. I know the rear tyres won’t pass muster, so these will be fitted en route to the testing station. I’ll also need to have the truck weighed for a tare weight before being tested.
Wednesday, June 5
- Jumped the gun on this one and removed wheels to take for fitting
Thursday, June 6
- New tyres fitted and back on the truck
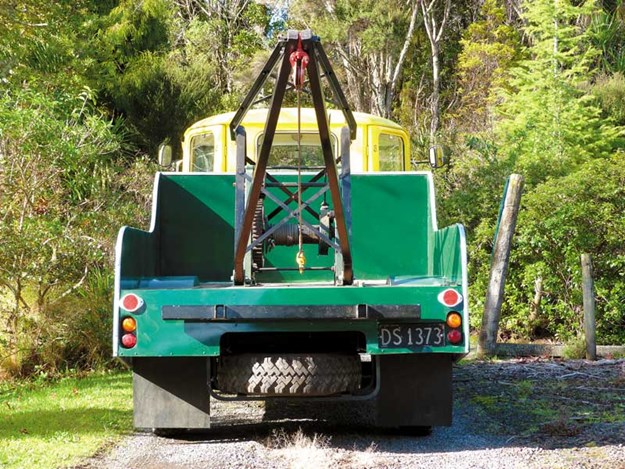
- Fabricate and fit 2 x rear mud flaps
Comment: I’d only intended fitting rear mud flaps if it turned out to be a requirement for a WOF/COF, however, I could see that the truck really did look like a Dinky Toy without them. So as I had a few spare hours up my sleeve, I went ahead and fitted them anyway. I don’t know what you think but I reckon it’s made the whole thing look a whole lot meatier.
Friday, June 7
- Made patterns for door cards to take to the upholsterer. Should be ready in a few days
Saturday, June 8
It’s been a bit of a mission, but with a bit of patience, I’m finally happy with all the brakes. All we have to do now is wait and see how it performs on VTNZ’s brake machine.
Comment: I snuck the truck out on a wet country road and ran it up to 25mph before pulling the handbrake on, and it pulled up in a straight line in about 10 metres.
Sunday, June 9
- Basically, a day of starting at the front and working the way to the back, tightening nuts and making sure that split pins/nylock nuts are in place and attending to bibs and bobs that had been missed along the way—a bigger job than at first thought.
- A final check of the basics: lights, indicators, wipers, horn, etc.
- One final wash and polish.
Monday, June 10
- The big day! Off to the testing station with a stop along the way to get that all-important tare weight.
Comment: The good people at VTNZ believe that the truck should come under a COF as opposed to a WOF because they think it should have a gross weight that exceeds 3500kg.
My argument is that because I’m reckoning on the truck weighing-in at around 2000kg tare weight and because I’ve fitted a body that won’t allow the carriage of a load weighing more than a few hundred kilos, the vehicle will never weigh more than approximately 3000kg all-up, hence, it should come under a WOF.
Thus, the facts discovered and the final outcome from the next few day’s activities are going to be interesting indeed.
As I wanted to present a nice, clean, and tidy vehicle to the guys at the testing station, I’d spent about an hour giving the truck a wash. That’s where the story of this restoration project starts turning a different way—something that I neither expected nor had wished for.
While I was going about the business of cleaning, I decided I’d tidy up all the minor items that needed attention, things such as stray bits of overspray and untidy wiring. I gave the truck a final once over to check that the lights, indicators, and such were working.
Everything seemed to be in working order so I took a few photos. Some of the items that I’d tidied up were the wires that connect the horn, indicator, and light cluster to the main wiring loom.
I had to replace the original cluster because of a faulty indicator switch with another unit I’d been given to put in my spare parts bin. The only trouble was that when I went to fit it, I found that half the wires had been cut during removal.
As those switches are a nightmare to dismantle and reassemble, I opted to join the wires and sleeve the soldered joints. Everything worked well when I fitted my repair back on the steering column, which is the way things stayed until I decided to cable-tie the wires to make it all look that bit tidier.
As I was backing the truck into its parking spot, all ready for the trip to the testing station, the following morning, I noticed a plume of smoke issuing from under the dashboard.
The long and short of it is that I will need an extension on the deadline to complete my restoration work.
As disastrous as this tale is (it’s fixable with time), it wouldn’t have been so bad if I wasn’t under a time constraint to get the VIN done because the engineer who supervised the cab repair is off on holiday for three months.
For reasons that will now have to be explained in the next instalment, he can’t complete his documentation until I get the truck over weighbridge to find a tare weight, but I’m afraid that isn’t going to happen in this issue.
Tip of the month
Accept setbacks gracefully—yeah right!
Coming up...
How will it all end?
Keep up to date in the industry by signing up to Deals on Wheels' free newsletter or liking us on Facebook.

.jpg)


.jpg)


.jpg)