Restoration project: FGK Morris Restoration Part 9
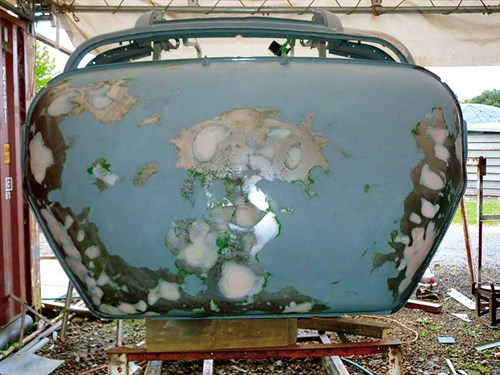
As described in part 8, the mudguards were too badly damaged to be repaired DIY, so services of an old friend, Tony Kemp, were called to the rescue
Tony did most of my panel and paintwork back in my trucking days during the ’70s, ’80s, and ’90s, so I knew that if anyone could fix ‘em, Tony could.
In the meantime, there were plenty of other things to crack on with; things such as what to do with the wiring loom before the time came to refit it.
I must be honest and say that it’s been a bit of a struggle this month, as even though I don’t feel like I’ve been slacking in any way, I don’t feel like much progress has been made, but nonetheless…
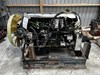
The FGK Morris restoration progress so far
The internal wiring itself was in an exceptionally good condition, although the outside woven sheathing was looking tired.
So given that it would largely be hidden from view, I made the call that I’d re-sheathe it myself with a good-quality insulation tape and save some money and a lot of time finding someone with a special machine to do the job in woven material.
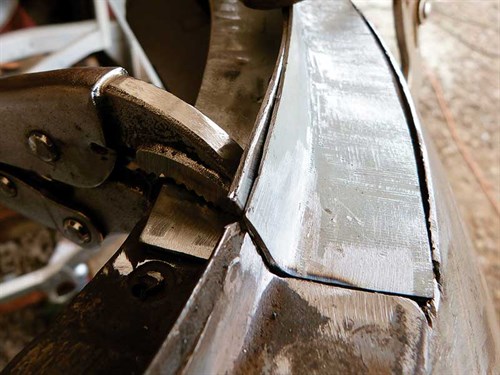
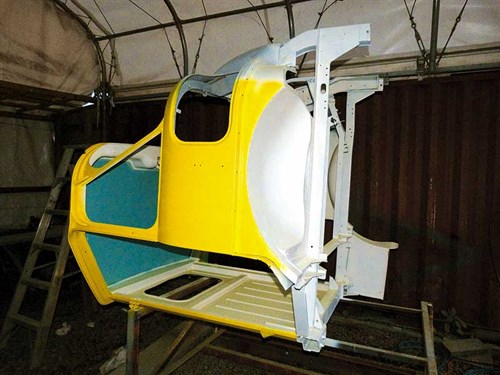
I still had lots of undercarriage to weld back in place, but at least, I was pleased to see the end of the rust removal in sight. However, by this time, there was bugger all left of the underside of the cab.
Nonetheless, while the cab was lying on its back, placed on my purpose-built table, I decided to remove a few dents from the roof, prime, and even finish-coat that part of the job just so I could say that I’d finally finished one part of the project.
Also, with the roof done and dusted and completion of the underside not too far away, it meant that I’d soon be able to place the cab the right way up and move forward with the placement of the floor panels that I’d cut with my fancy new plasma cutter.
As I mentioned in last month’s issue, I had an engineer look at the welding I’d done to date. Although I was given the okay for the frame welding, I had to redo the floor panels by plug welding at 50mm centres through eight millimetre holes.
Deciding on creating a workhorse or show pony
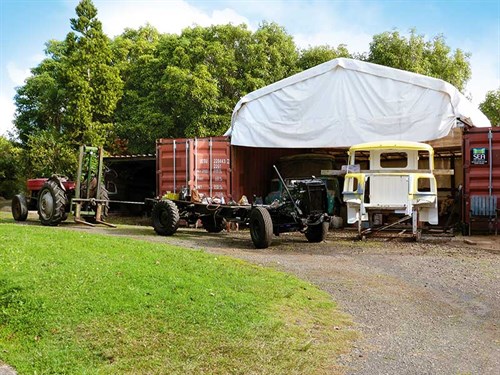
Aside from odds and sods with the chassis, engine, and transmission department, I had been working through a thought process of what was finally going on the back of this machine.
I had considered building a flat deck but had dismissed that idea, as I already had the K Bedford in that configuration.
I’d also thought about a box van body but tossed that idea out the window almost as soon as I’d thought of it.
Another option that had been lingering on my mind was to make it into an old-fashioned tow wagon/a hook-truck just as a bit of fun.
The reason was that when I started out to restore the K Bedford, I told everybody who’d listen that it was going to be a workhorse and not a show pony, and it’s fair to say that I’ve stuck to my word.
In the almost two years after its restoration, the Beddy has carried countless loads of bark, mulch, timber, and basecourse, and it’s lined up for a couple of firewood delivery jobs next week, which I dare say qualifies it for the workhorse category.
Although, I have to confess that it did do a stint as a bit of an ‘eye candy’ recently at Deals on Wheels’ stand at THE Expo at Mystery Creek.
However, once again, the old truck sang for its supper by delivering tons of promotional material to and from the event.
The point of digressing from the FGK Morris story and going off onto a tangent about K Bedford is that I already have one workhorse in the stable.
So now it’s time to get a show pony in the form a tow wagon with a hand crank winch that will never tow anything but should raise a few eyebrows at truck shows.
Continuing from last month
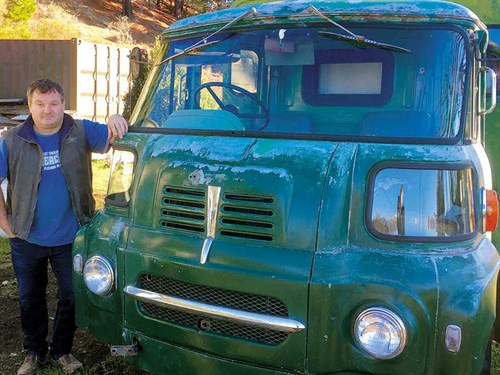
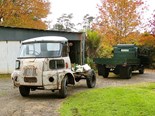
I hadn’t forgotten that in the last month’s issue, I promised to tell you about Andy Armstrong, who has been following the FGK restoration and contacted me after he came across an FGK as part of a property purchase.
I’m truly envious of his truck, as although it’s clearly in need of some TLC, it’s complete, right down to having its original floor mats and a true luxury of its time— a factory-fitted heater.
Andy tells me it’ll be a while before he gets around to doing anything with his purchase, but I’ve included a photo of his truck, if nothing more than to show that I’m not the only one who thinks these weird old trucks are quite beautiful.
Another thing I’d mentioned in a previous issue was my tale of woe about breaking the windscreen but that I had another screen from my donor truck that I wasn’t even sure
I could use because it wasn’t laminated.
While at the testing station, getting a COF for the FH140 Mitsubishi—one of my previous restorations—I asked the guys to check the regulations on such things, and I was told that it’s okay to have an original screen in order to get the vehicle certified.
I have to say that I heaved a sigh of relief on that one, as my eyes were watering at the cost of getting a laminated screen made, if that’s even a possibility.
Back in the workshop, I was able to get a coat of primer and even a topcoat on parts of the cab’s interior, including a bit of prep coat done on part of the exterior.
This actually makes it ready to fit the windscreen, which for the meantime, is going to stay in place in the donor cab where it’s out of harm’s way.
Coming up in FGK Morris Restoration Part 10
Craning the cab back on the chassis.
Keep up to date in the industry by signing up to Deals on Wheels' free newsletter or liking us on Facebook.

.JPG)
.jpeg)