Restoration project: FGK Morris Part 19
In his latest restoration piece, Lyndsay Whittle completes big jobs on his FGK Morris
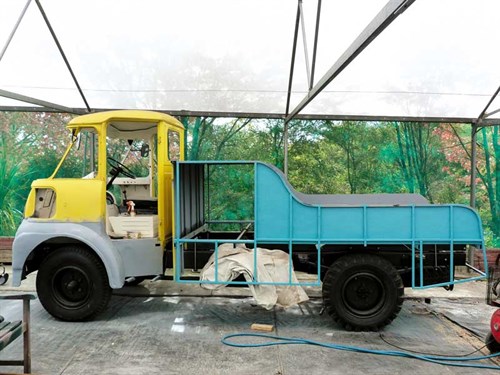
After months of not much appearing to be happening on the restoration front, things are now taking shape in some kind of orderly fashion.
Looking back on the past year-and-a-half of working on this project, I can recall that there have been times when it’s looked like nothing much is going on, and then suddenly, all of the little bits of boring stuff that have been going on behind the scenes come together and hey presto, we have something that’s starting to look like a semi-finished piece of work.

In fact, having just re-read last month’s issue, I see I made a rash promise that I’d either have progress to report on the front wings or the rear side panels.
Oddly enough, I can report good progress in both quarters, making a rod for my own back by having to produce some real work in order to make it look like I’m making any sort of progress next month.
Completing big jobs
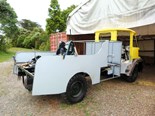
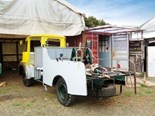
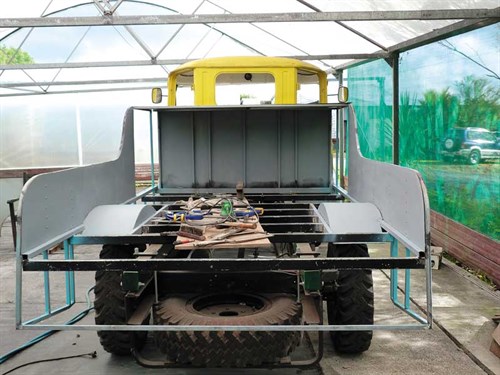
I have to say there were two major jobs that I didn’t relish getting stuck into, namely, the final fitting of the front mudguards/wings and the monotonous job of drilling hundreds of holes required for the pop rivets that hold the inner and outer panels of the rear portion of the truck in place.
However, following a flurry of energy, both of these jobs are largely behind me. I say "largely" because I haven’t decided yet as to how I’m going to finish the top rail where it cascades down the side of the body.
I was hoping to find some lengths of half-round aluminium capping that could be easily moulded to shape, but the size I need isn’t available from any of the body moulding specialist shops.
The framing is 20mm, coupled with 1mm thick panels either side, so I need a 22mm-wide moulding to cover the top surface—a bit of a nuisance, as all the aluminium moulding available are either wider or narrower.
Had the right sized capping been available, I would’ve simply riveted around the top edge, but since that’s not the case, I may have to use some other form of capping, which would snag on the rivets. Hence, that part of the job remains unfinished in the meantime.
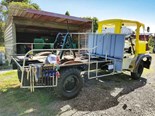
I guess it’ll be back to the drawing board on that score over the next few weeks, but at least, the panels are fixed in place without the need to hold them on with clamps any longer.
As far as the wings are concerned, it’s largely a matter of applying several thin skims of body filler to smooth out the inevitable surface imperfections that come as part of the package of all the hammer work they’ve endured over the past few months.
I’m still waiting for Jeremy the glass man to come back from his long break from work due to a combination of recovery from surgery and a latter overseas holiday.
Jeremy reckons he’ll fit the glass sometime in June, which suits me fine, as I should have the surrounding paintwork finished at about the same time.
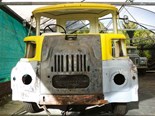
The right grille
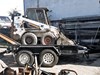
It’s always nice to sit down, take a break, and smell the roses straight after you’ve reached a milestone with any project, but it didn’t last long for me. I remembered I’d been having trouble with trying to make the radiator grille fit earlier in the week when I had the brainwave of grabbing the grille from the donor truck (an Austin) to see if it would fit any better.
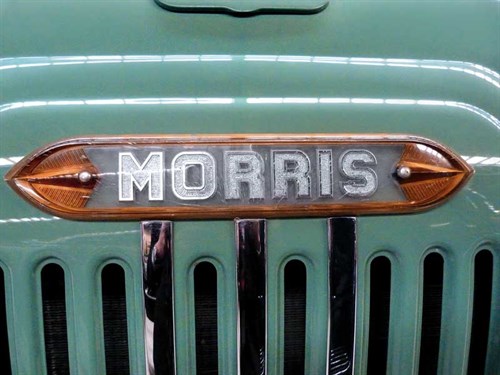
The only difference between the Morris and Austin variants of these trucks were vertical flutes on the grille of the Morris and horizontal ones on the Austin.
Honestly, aside from the Morris/Austin badging, the only difference—as unbelievable as it sounds—is the way the inserts of the respective grilles are pressed.
In fact, I read somewhere that when the trucks were being launched in England in the early ’60s, BMC (British Motor Corporation) had their mechanics driving between Austin and Morris dealerships, changing the grilles (complete with badges) to suit the marque being marketed by each particular dealership—all because they didn’t have enough trucks available to go on display at one time.
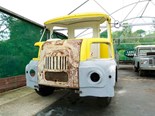
Anyway, when I placed the Austin grille on the Morris—battered and all as it is—it fitted a whole lot better than the original body part. I’ll use the Austin grille as a pattern for the correct shape of the Morris part.
Austin vs Morris
The big thing here, though, is that I could refurbish both grilles, find an Austin and a Morris badge, and I’d instantly have two brands of trucks in one. Taking the idea a little further, it would only be a matter of removing the towing body (a job that should only take half an hour by undoing four U bolts and an electrical connector) then replace it with a flat deck or whatever else for that matter and the configuration possibilities would be endless.
Ridiculous as the idea sounds at first, it’s not out of the realms of possibility; the only problem is finding the correct badges.
While on the subject of badges, if anybody comes across a Morris Badge that looks like the one I’ve pictured, I’d be pleased to hear from you.
Giving me a call would be mutually beneficial because I’d be happy to pay good money for a plastic Morris badge in good (even reasonable) condition and also for an Austin badge of a similar vintage.
Tip of the month:
Stick with the programme
Coming up...
I feel some woodwork coming on
Keep up to date in the industry by signing up to Deals on Wheels' free newsletter or liking us on Facebook.


.jpg)