K Bedford restoration project: part 9
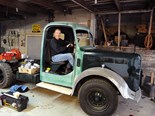
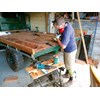
 A rare shot of the owner actually doing some work.
|
|
|
A rare shot of the owner actually doing some work.
|
|
|
It seems like it's not until you get into the first few months of a restoration project that you realise what a huge commitment you've let yourself in for.
Before I get into this month's instalment, first I must reiterate the importance of having a bunch of great buddies who share your enthusiasm for whatever project it is that you've taken on.
In my case those mates have had to have been imbued with another quality – patience.
If it wasn't for the patience of an old friend, Richard Seccombe, who allowed me to store what was little more than a rolling chassis in his warehouse for a couple of years way back when, the truck probably would have ended up on the scrap heap.
My other mate (I have two of them) Dean Southey has featured frequently throughout the restoration story, let me work on the truck in his workshop free of charge (at least I haven't seen a bill yet) and has provided his expertise as an engineer all the way through the project.
Dean put me in touch with his mate Pete Facoory who managed to source the hardwood for the deck at a very favourable price and milled the timber to size as part of the process – thanks Pete, you're a star!
And that's not taking into account my restoration buddy Murray Firth and his ever-patient wife Penny, who surely rue the day we made the decision to get stuck into completing the old K's restoration a little less than a year ago.
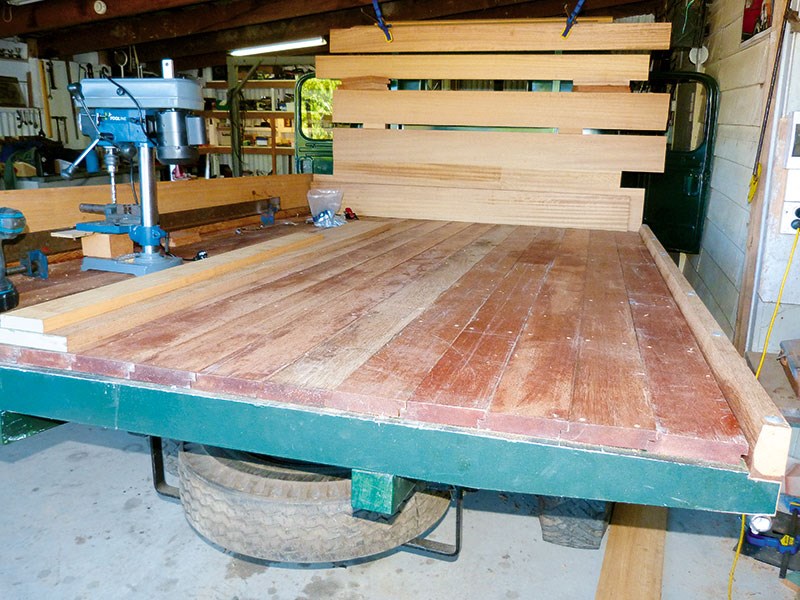
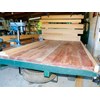
Adding a more substantial headboard
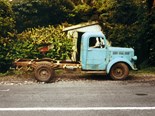
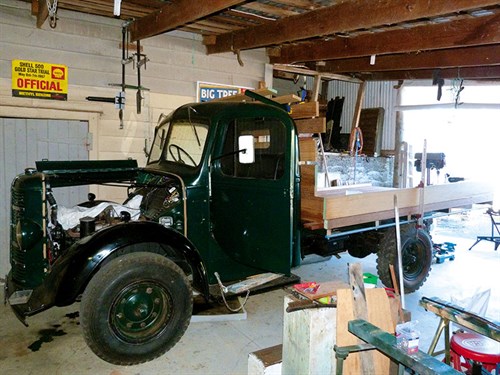
In any event, here we are with a sixty-something year old machine that's looking more like a proper truck as the months go by.
I purchased the truck in 1979 and used it to do odd jobs for a period of about five years, and while it was a very handy little beast for transporting a wheelbarrow, as well as a few hand tools and a metre or so of sand and cement, it wasn't so good for carrying long lengths of timber.
The reason for this was because the headboard only came up to just below the rear window, limiting the length of timber I could carry, to about 4.0 metres.
So I promised myself that one day I'd fit a more substantial headboard with a return at the top to store a tarpaulin.
That never happened in that period of the truck's life, but things are about to change, this time around.
When we originally decided to get serious about finishing the restoration, we agreed to split the project into three basic parts.
Firstly we would get it going and stopping, then we'd work on the bodywork as far as the back of the cab and finally we'd concentrate on the rear part of the chassis and building a new deck.
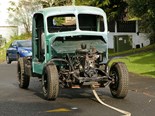
Long before I owned the truck, it had had a 200mm extension neatly welded on to the rear of the chassis which allowed for a longer deck and in its heyday the K used to tow a Yanmar 186D 4x4 tractor with a front-end loader and grader blade on a tandem trailer. In order to do this I'd had an engineering firm weld a tow bar on.
While being essential for towing a trailer, this made the spare tyre carrier inaccessible.
My restoration advisors (one M Firth and a magazine editor who shall remain nameless) reckoned that I could do without the longer deck and the accompanying tow bar, so reluctantly in December, off they came.
The upshot of it is that we replaced the carrier in its original position, 200mm forward and once again I have a place to store the spare tyre, although alas I have a deck that's 200mm shorter than the previous one and no tow bar.
The deck may be shorter now but the timber I'll be able to carry will be able to be longer due to the flash new headboard that is slowly taking shape and will allow 6m lengths to go up and over the cab.
Style over substance?
I've been having bit of friendly banter with some of my colleagues who believe the truck should be more of a show pony than a workhorse, but I'm dead-set that there's no room in my stable for a bloody show pony.
All right – I don't have any immediate intentions of going to the filing cabinet and dusting off my transport licence, so the old K has got nothing to worry about on that score, but I have every intention of using the truck to perform the duties I'd expect of a modern utility vehicle.
Some lengthy debate took place a few months ago, as to whether we should construct the deck out of steel or timber.
Dean the engineer reckoned he could whip a steel deck up in a weekend in steel and Murray the purist was adamant that is should be made of wood.
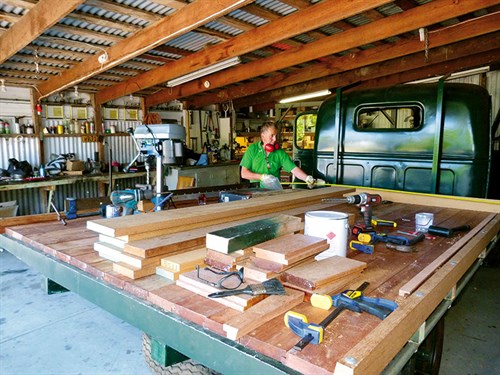
The lazy part of me wanted to go with Dean's quicker option which was going to mean less work for yours truly, not to mention it being the cheaper option, but Murray eventually won the argument and I started psyching myself up to resurrecting my carpentry gear from the depths of my storeroom.
To be honest, I'm really glad Murray made me see the sense of going with wood, as I think it's going to give us more of an authentic look to the truck, even though I can recall where in the 1960s and 70s there were quite a few trucks of this vintage running around with steel decks.
Although a steel deck would have looked OK, what we're going to end up with will give the truck a look which isn't too dissimilar to the way it presented when I drove it in the 1980s.
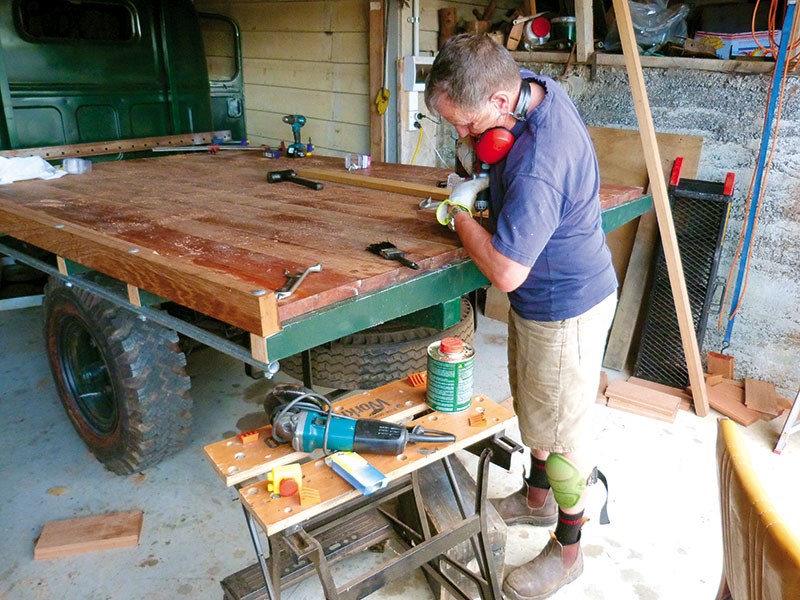
This is the first time I've ever built a deck on a truck, and believe me it's a lot different to building a deck on a house. Ideally I suppose we could have built a jig to use as a reference-point, but then I shouldn't think we'll be doing this again anytime soon.
As we didn't have a set of plans to work from (the previous deck had been lost over the course of the thirty-something years the truck had been off the road) the new build had to proceed with the aid of the good old 'eyechrometer'.
A lot of time was spent using line-of-sight to determine whether the cross-members we had mounted to the chassis rails were too wide or not, so we decided to cut them longer, figuring that is was easier to cut a bit off than to add a bit on.
However, now that the combing rail is attached to the left hand side of the body, that's the width it's going to be, even though we've been told by one chap, that it's too wide – tough!
Next time…
Well it's now it's all coming down to the wire and next month's instalment will be presented a little bit differently. Instead of bragging about what we've done to date, we'll be looking into the future and making a list of things to do in order to complete the restoration.
I for one am looking forward to it.
My restoration tip of the month: Write about your past achievements and future expectations – it helps to keep you focussed.
Follow along with the project, subscribe to Deals On Wheels magazine here.
Keep up to date in the industry by signing up to Deals on Wheels' free newsletter or liking us on Facebook.

.jpg)


.jpg)