K Bedford restoration project: part 7
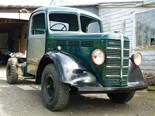
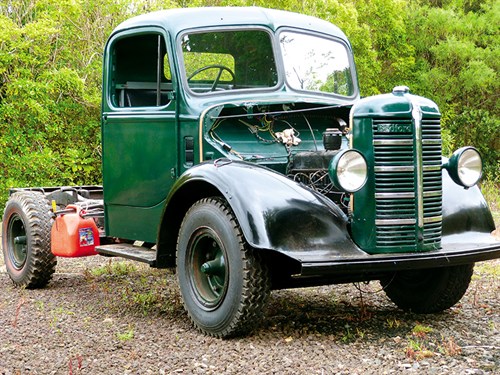
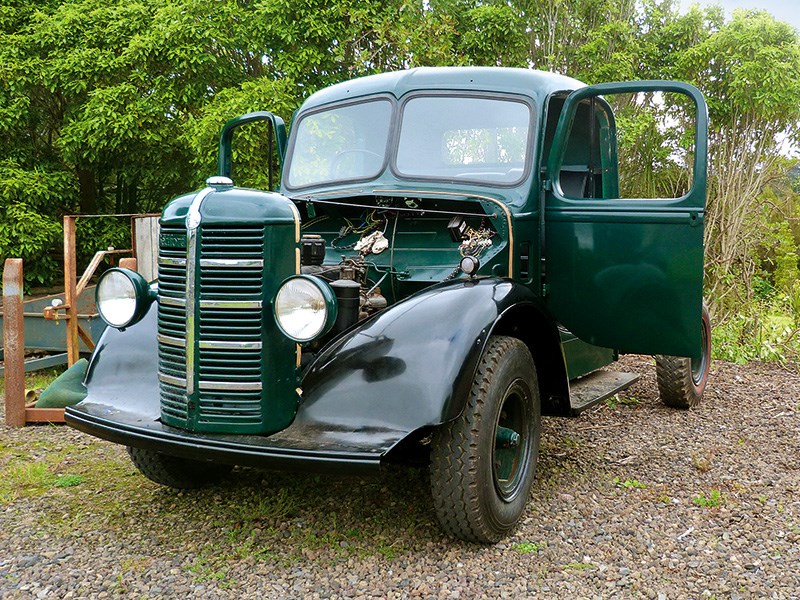 The truck with both doors attached for the first time.
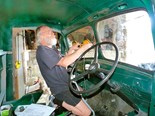
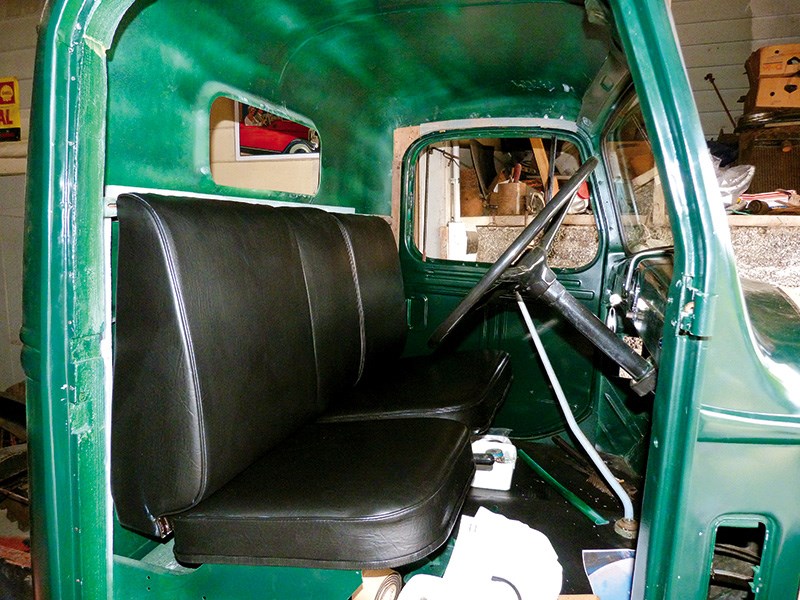
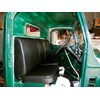
.jpg) Instruments finally fitted with lights working as well.
Instruments finally fitted with lights working as well.
.jpg)
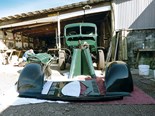
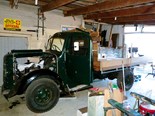
.jpg) The extended chassis at the rear will soon be removed.
The extended chassis at the rear will soon be removed.
.jpg)
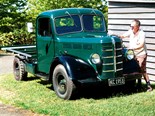
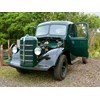
 The seats are probably better than new.
|
|
|
The truck with both doors attached for the first time.
|
|
|
|
Instruments finally fitted with lights working as well.
|
|
|
|
The extended chassis at the rear will soon be removed.
|
|
|
|
The seats are probably better than new.
|
Looking back on the tone of doom and gloom in last month's instalment of my K Bedford restoration project, I can happily say that the mood changed dramatically recently.
Most of the things presented in the to-do list in last month's issue of Deals on Wheels have now been completed. The first item or items were the instruments, which arrived back from Robinsons Instruments a week or so ago and have now been fitted in the truck.
Bruce, the man who carried out the refurbishments at Robinsons Instruments, is to be congratulated on a job superbly executed – the dials look like they're brand new and have obviously had many hours of work carried out on them.
Robinson's brief was to repair the speedometer and to match the cluster containing the oil and ignition lights, along with the fuel and temperature gauges to the same standard, so that one didn't look older or newer than the other.
All I can say is that I hope the photo I've provided does justice to a job very well done.
We also provided Robinsons with a fuel tank sender unit that was barely recognisable as to what it was meant to be. Here's hoping the before and after shots show the true extent of Bruce's workmanship and attention to detail.
Bedford doors and seats
The driver's door is now permanently in place, with the only thing to take place now is to fit the glass to both doors.
Jeremy from Bespoke Auto Glass tells me the remaining pieces of see-through stuff are a matter of days away, which is really great because I've had enough of writing the word 'doors', the components that have caused us the most problems throughout the entire restoration.
The guys at Waikumete Car Upholsterers have done a fantastic job of repairing the original rubber floor mat that arrived at their premises in about 50 pieces (slight exaggeration there – it was probably 10).
Anyway, the mat arrived back as one complete unit, looking almost as good as new. The part of the mat that sits on the firewall will be repaired in-house when we can drive the truck to the upholsterer's workshop.
The seats have been rebuilt to original specification although I'm going to have to ask the guys to make the back of the driver's seat thinner, as even though I'm fairly short, I feel my knees are up around my chin.
How I used to drive one of these beasts for eight hours a day half a century ago totally escapes me – surely I haven't become that tubby have I?
Electrical system
When the wiring loom first arrived from England we thought we'd certainly be calling on the services of an auto electrician. However, bit by bit we've been able piece most of it together – now there are only a few connections to make in order to complete the job.
The results of the next few days of work on the electrical system will reveal whether or not the local auto sparky will be receiving a call for help.
All Bedfords from around 1950 onwards were fitted with 12-volt electrical systems, this truck being one of them. It is set up with as positive earth as opposed to the current-day standard of negative earth.
It'll be interesting when we come to wiring the wipers and any other ancillary equipment that weren't a part of the original specifications.
The windscreen wipers and flashing indicators will be typical examples of an opportunity for two old rookies to learn something new about auto electrics.
The home stretch
We're feeling like the restoration is in the final stages and the expectation is that it'll all be done and dusted, minus building and fitting the deck that is.
Murray and I now think we've started to get a handle on the way the other one thinks and works, as we've pretty much seen eye to eye during the course of the past few months restoring the old K, however that may be about to change.
As we near completion of the job at hand, a slight dilemma is about to rear its ugly head. The question is do we build the frame of the deck out of wood, or do we make it out of steel?
I drove one of these buggers for two years in the late 1960s and it had a steel frame deck way back then, making it entirely reasonable for the restoration to be authentic from an old-style vehicle point of view.
Murray reckons he prefers an all-wood deck – what do you think? Please let us know by writing to the Ed.
The easy way to have dealt with the electrics would have been to call in a professional but we decided to give it a go ourselves and have learnt heaps along the way, which brings me to the restoration tip:
Don't be afraid to give something new a go – you might learn something worthwhile.
For the latest news, reviews and features, subscribe to Deals On Wheels magazine here.
Keep up to date in the industry by signing up to Deals on Wheels' free newsletter or liking us on Facebook.


.jpg)

.jpg)
.jpg)
.jpg)
.jpg)